How to Setup Google Tag Manager and Google Ads Conversion Tracking
How to Create a Google Tag Manager Account?
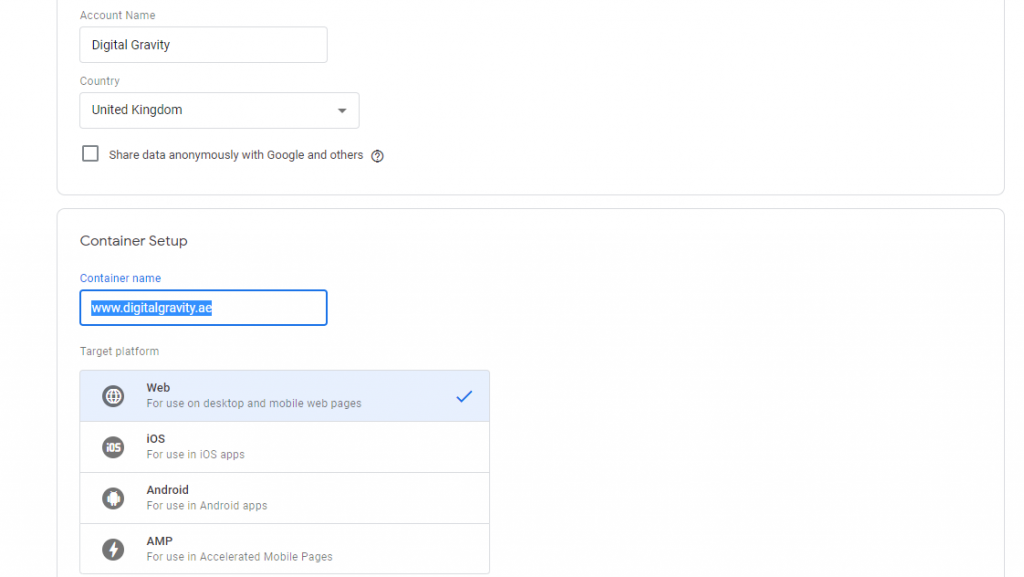
To create an account in the Google Tag Manager, you need to click on the Sign In tab on top right of the page. Simply click on “Google Tag Manager” from the dropdown menu, add a new account from “Admin”, assign a name and click on “Continue”, In our Case, we Set the account name as “Digital Gravity” you can set yours. Assign a title to the container and path where you wish to use it. The case here is for website so you would click on ‘web’ and then hit the ‘Create’ tab.
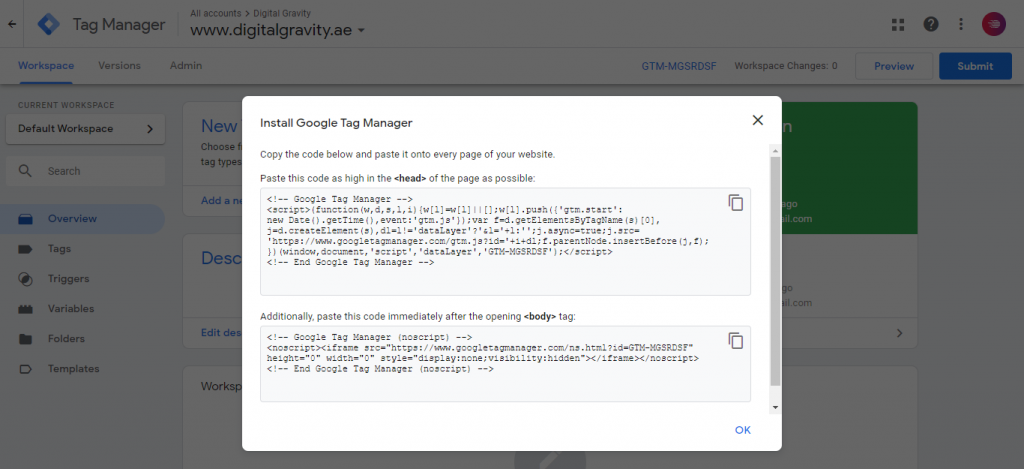
On accepting the terms of agreement, you’ll receive the Google Tag Manager Code including the header and body part. Copy and paste the Google Tag Manager Code into your website, click “OK” to create the account. Refer to the screenshot for clarity on the process.
How to Setup Conversion Tracking in Google Adwords.
Sign in to your Google Ads account.
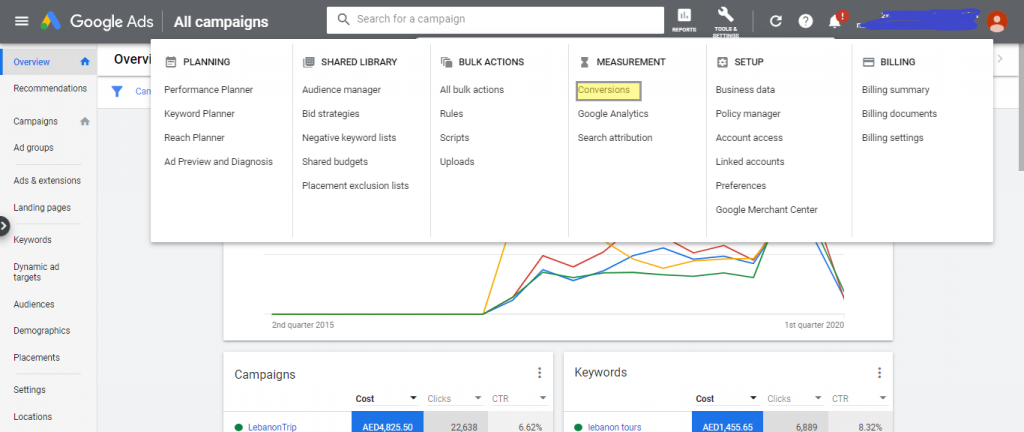
Click the tools icon and under “Measurement,” click Conversions.
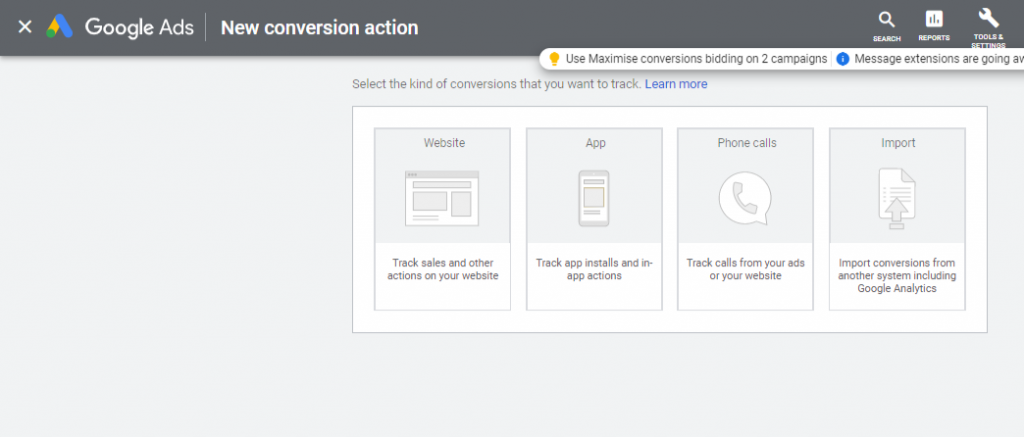
Click on the plus “+” sign, select the type of conversions you want to track. We have website, mobile apps, phone calls and Import (for conversions from another system using Google Analytics)
Select “Website” and action that you would like to track from the “Category”. Enter name of the conversion in the “Conversion Name” that has to be of 100 characters in length.
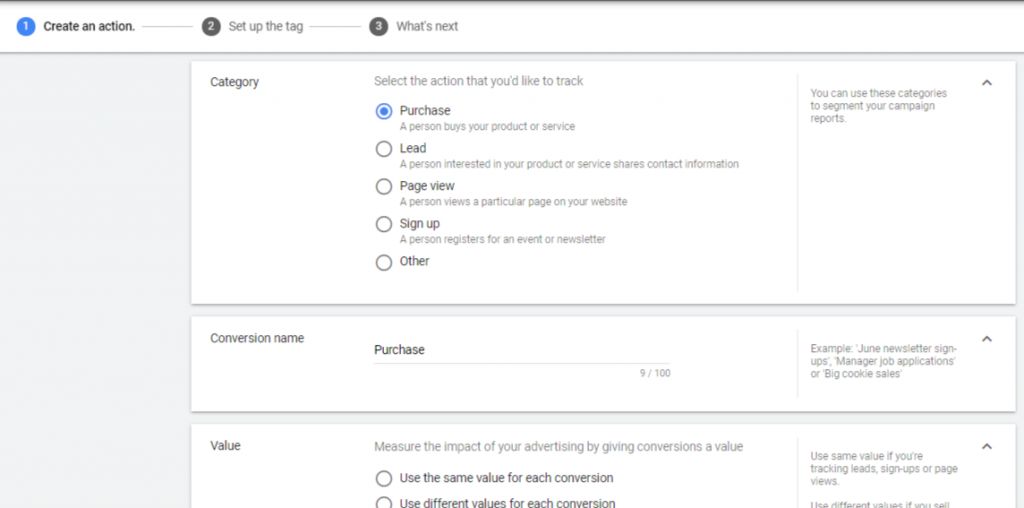
In the “Value” area, select how to track the value of each conversion. There’re three options namely;
- Use the same value for each conversion
- Use different values for each conversion
- Don’t use a value for this conversion action (not recommended)
In our case, we will go for “Use the same value for each conversion“. Enter the amount each conversion is worth to your business.
In “Count,” select how many conversions to count per click or interaction.
- Every – Recommended for purchases because every purchase is valuable.
- One – Recommended for leads, sign-ups and other conversions because only the first interaction is valuable.
We will go for “One” because the setting is best for website, when only one conversion per ad click adds value for your business.
Click “Create and continue” to set up your tag.
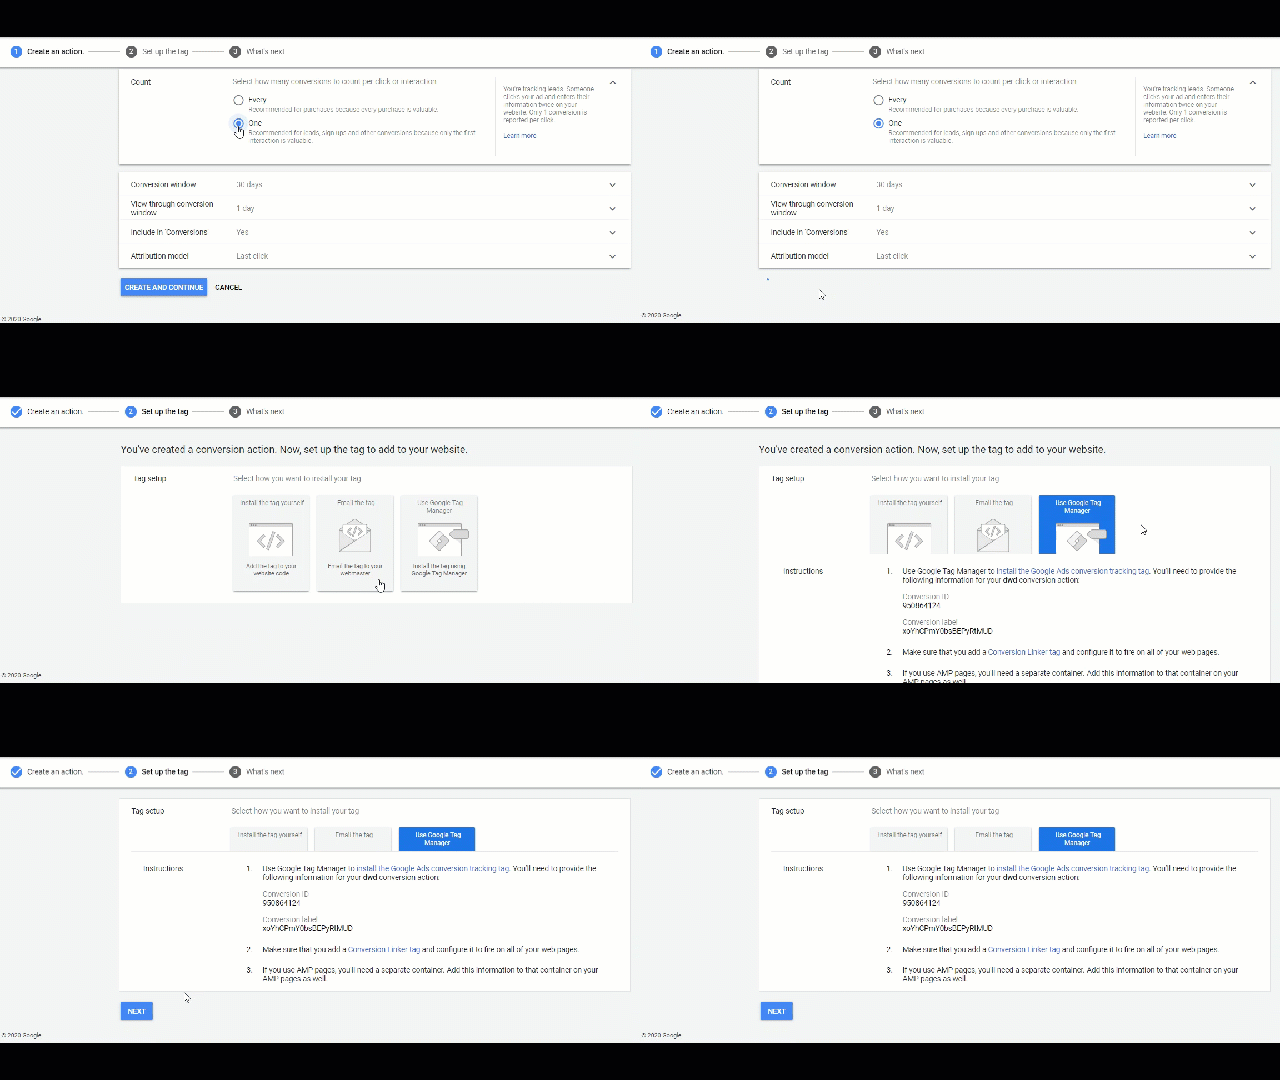
How to Implement Conversion Tracking into Google Tag Manager?
In Tag Manager, start a new Google Ads tag in the Tag Manager.
Select New and enter the title of the tag in the top-left area right besides the “Untitled Tag”
Click on the pencil icon at the rightmost of Tag Configuration to select the tag type you want to set up. In our case, we will select Google Ads Conversion Tracking.
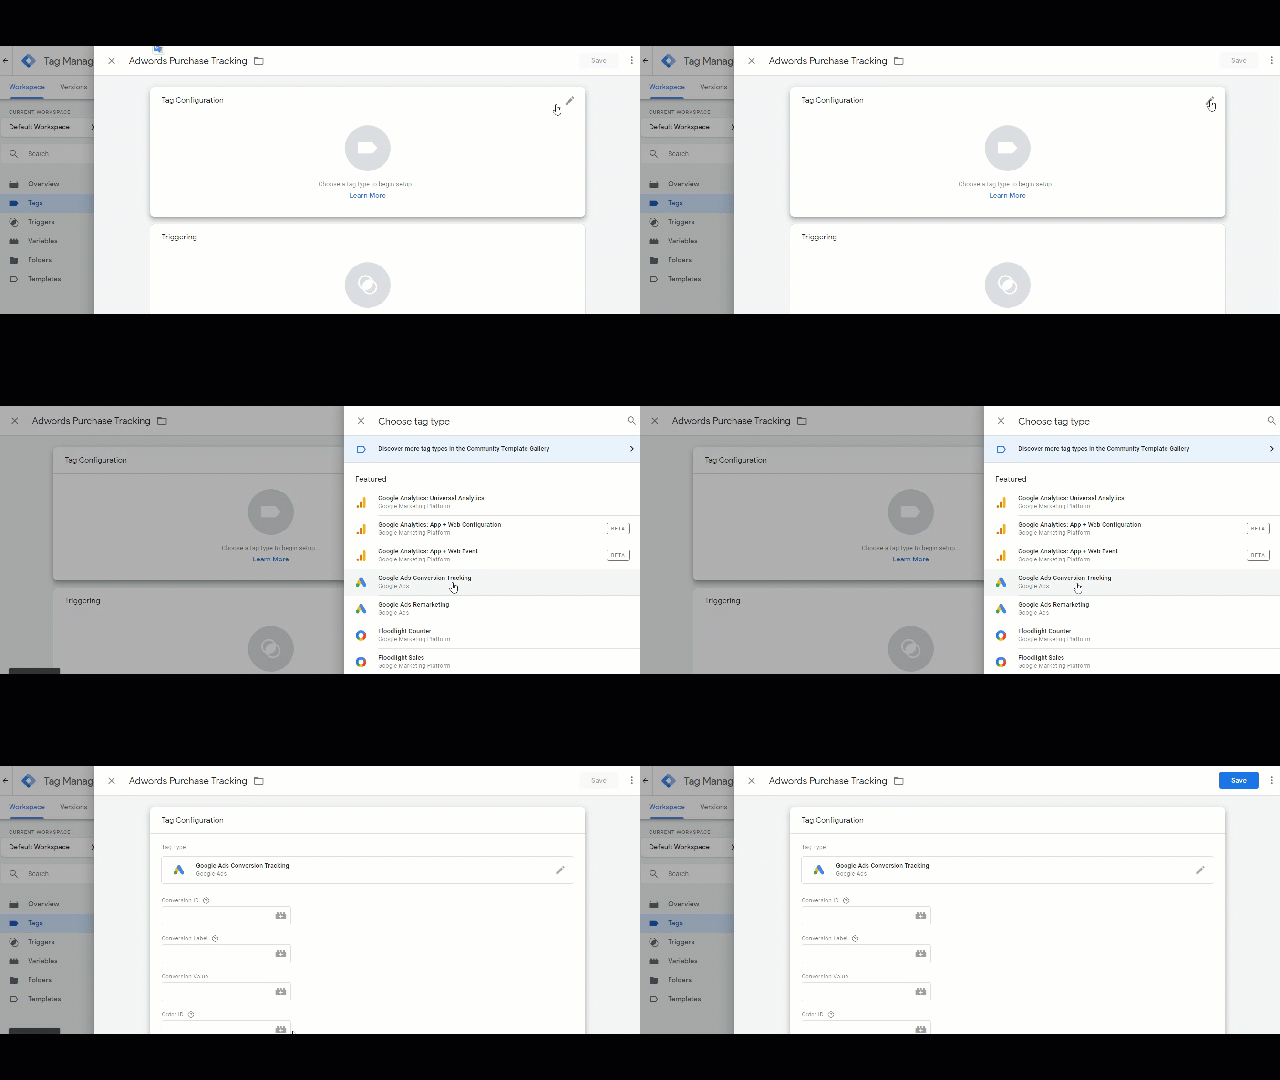
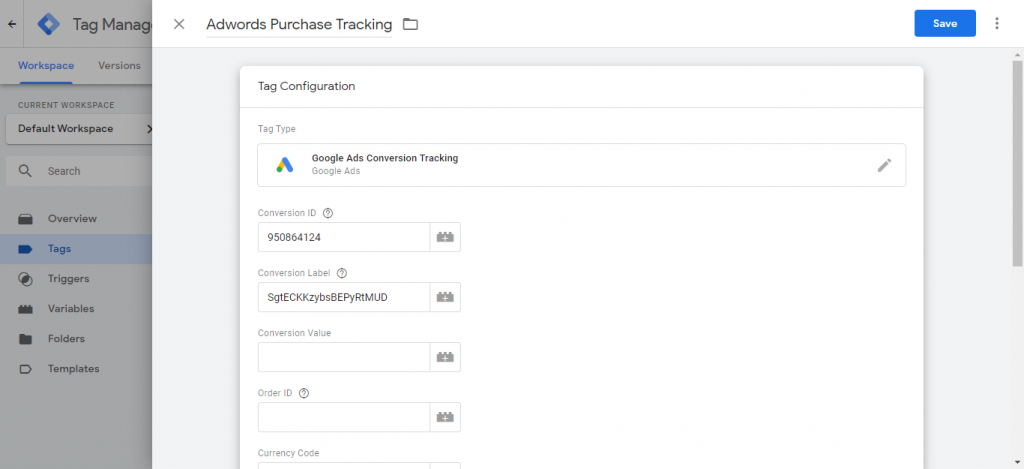
Fill up the fields with relevant details such as “Conversion ID”, “Conversion Label” & “Conversion Value”.
In the “Triggering” area, you need to select the trigger against the selected tag from the dropdown list which appears on clicking the pencil icon just like in the “Tag Configuration”.
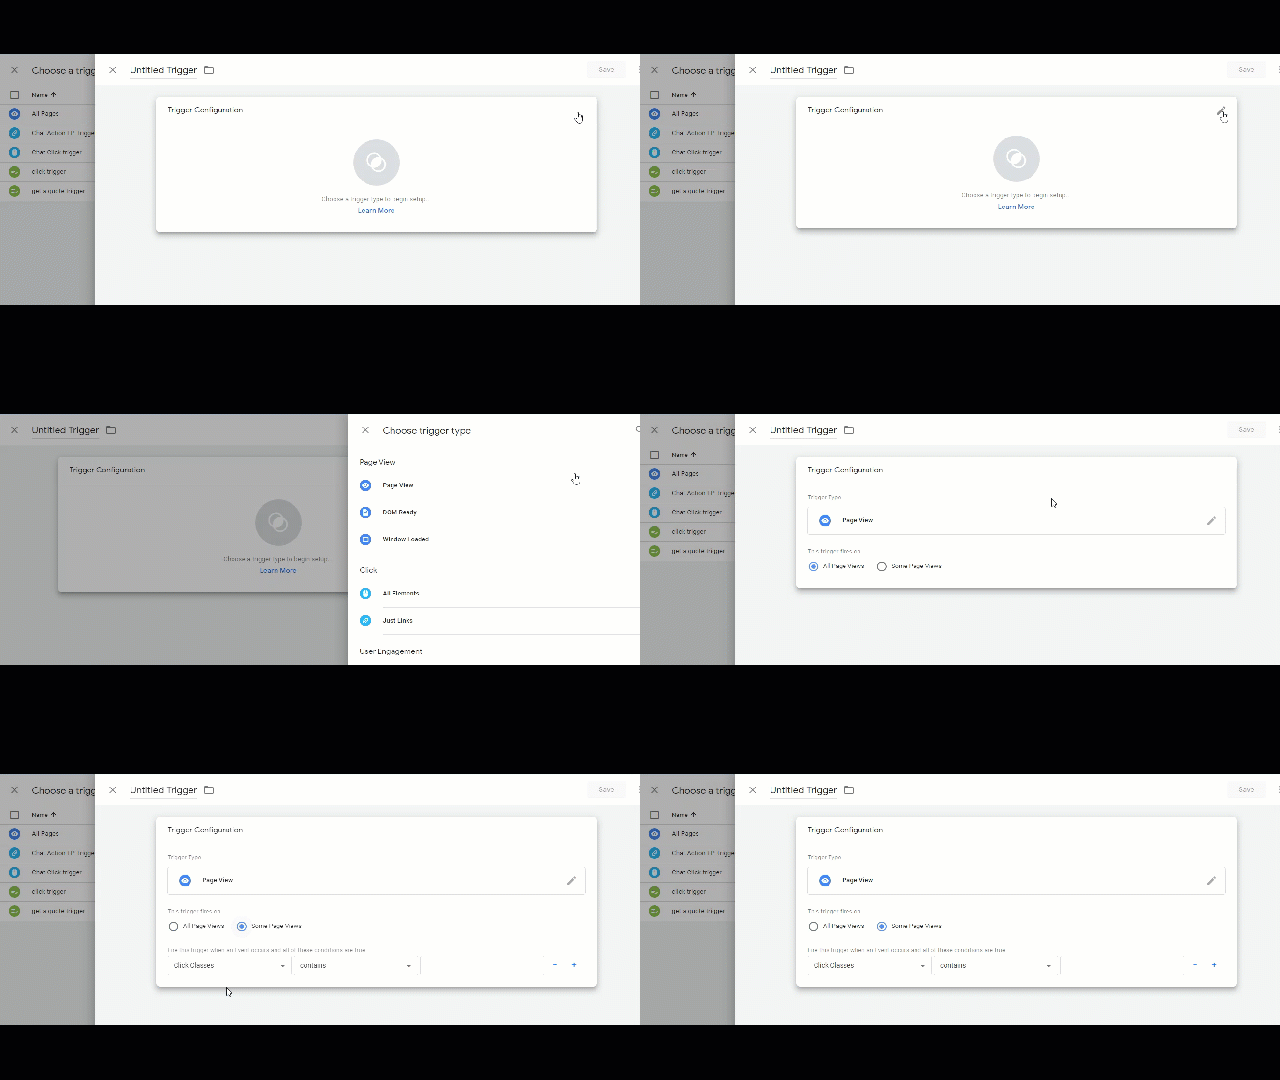
Also, in the “Triggering” area, you will need to select a page type. In this particular case, we will select Page View from the list. Place a check on the option where you wish the trigger to fire; like Some Page Views in the current scenario.
Refer to the fields right below which activates the trigger when an event is fired. For instance, select Page URL that contains “thank you”, which means each time a purchase process has been completed, the tag will fire.
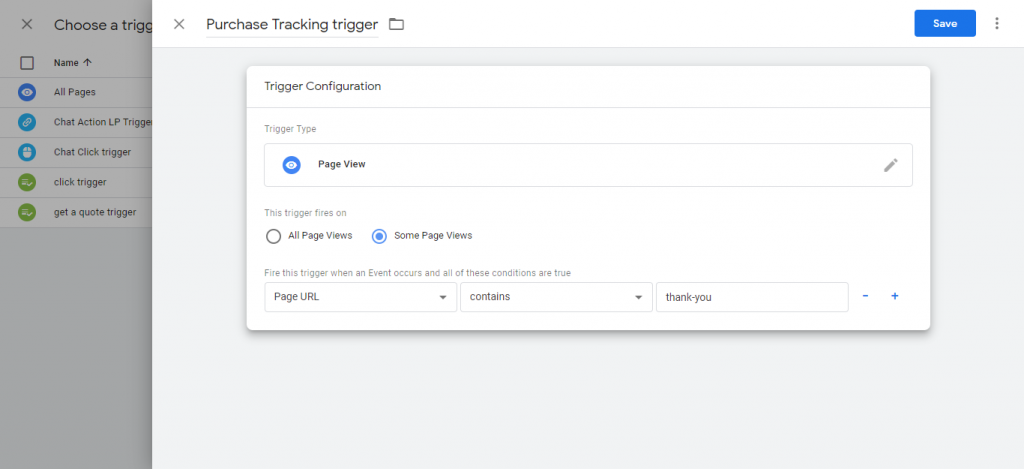
Click on the “Save” tab, go to the main window and hit the “Preview” to track proper implementation of the tag.


